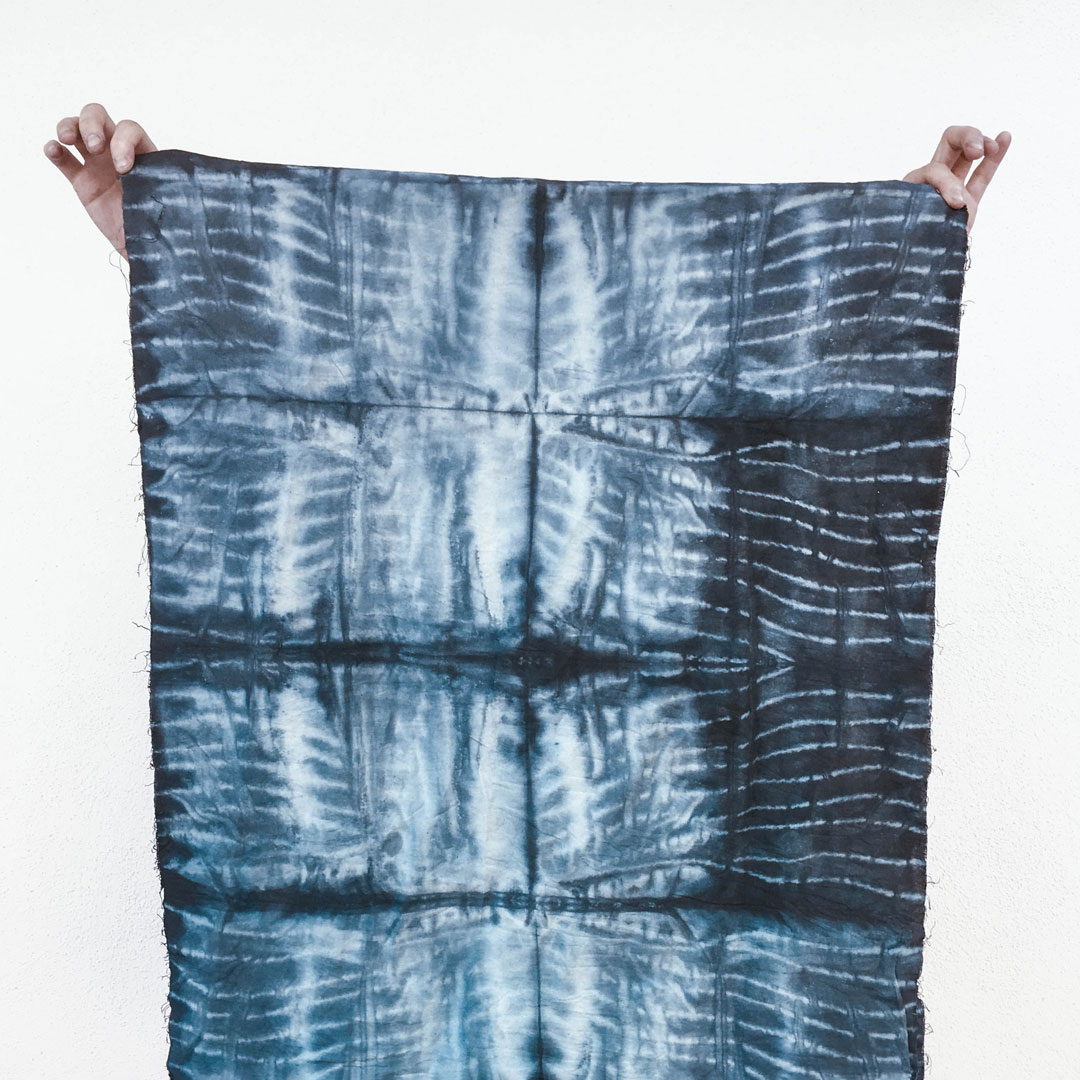
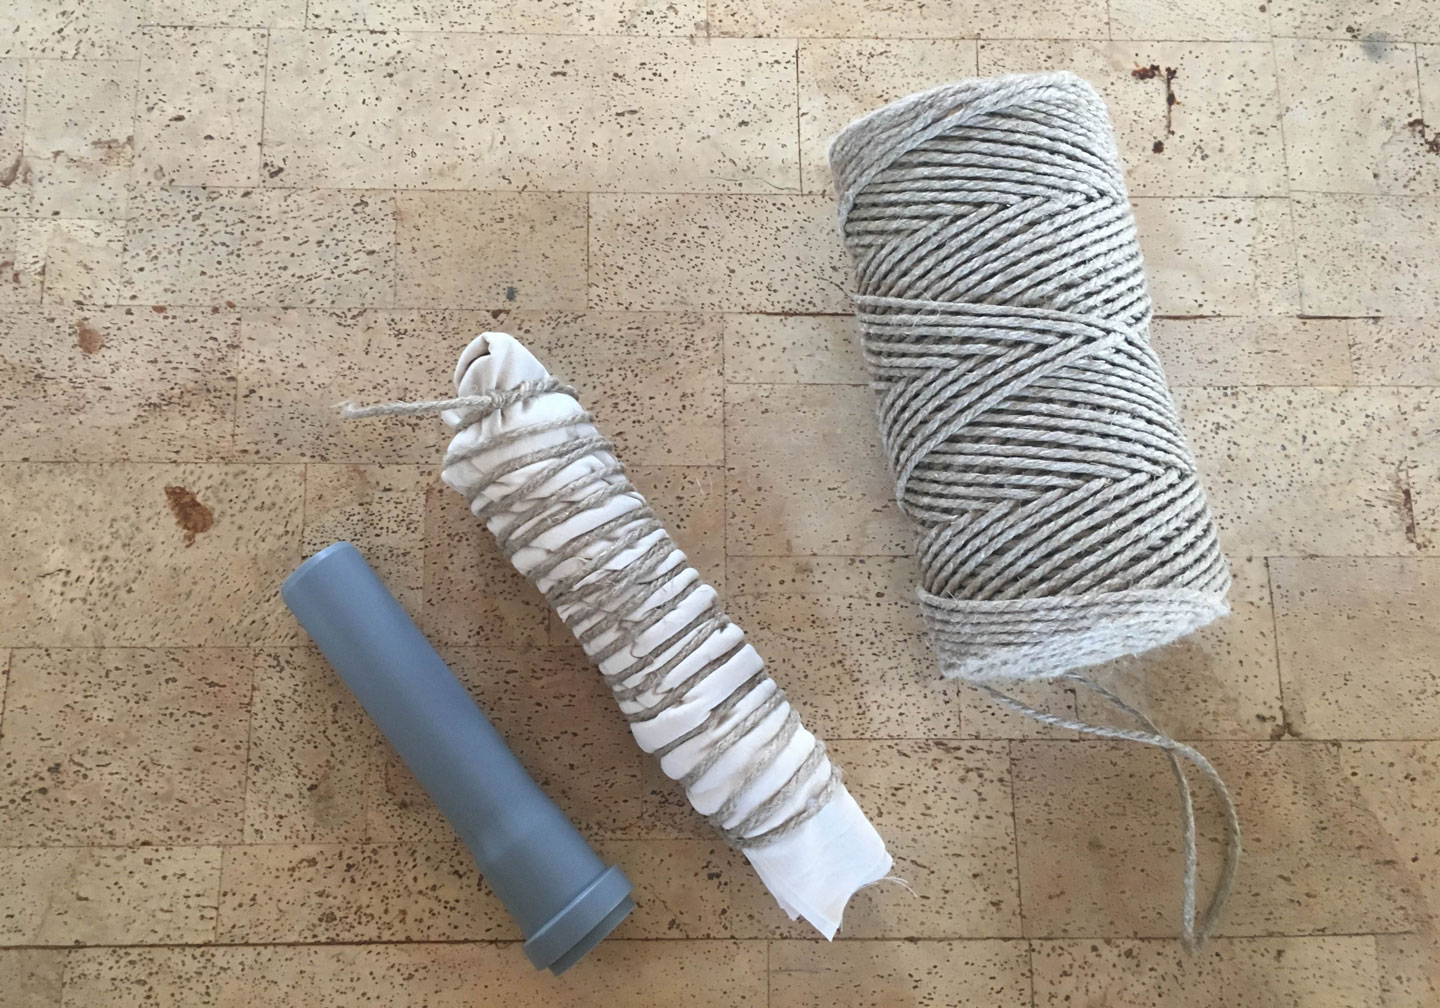
Arashi Shibori
Arashi Shibori
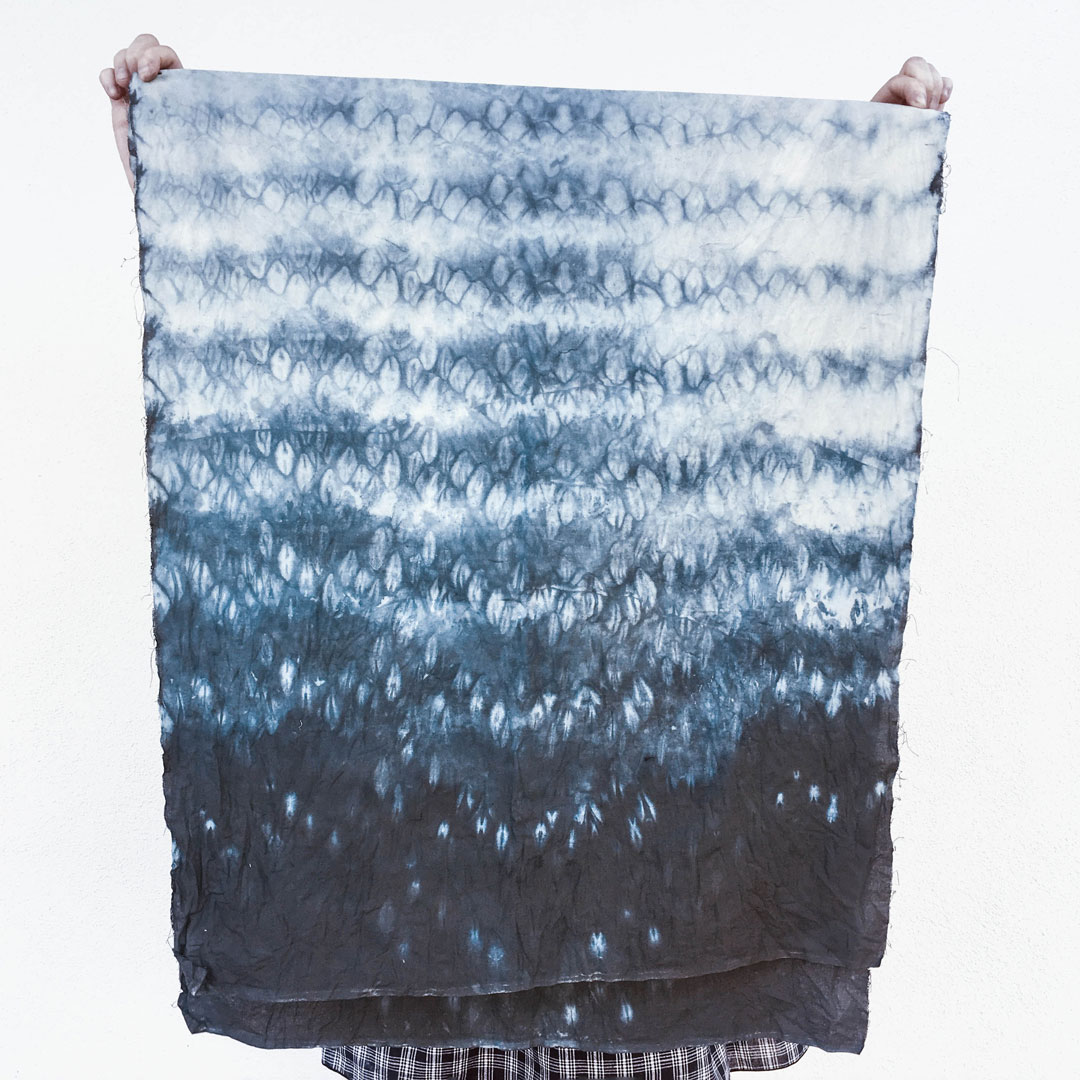
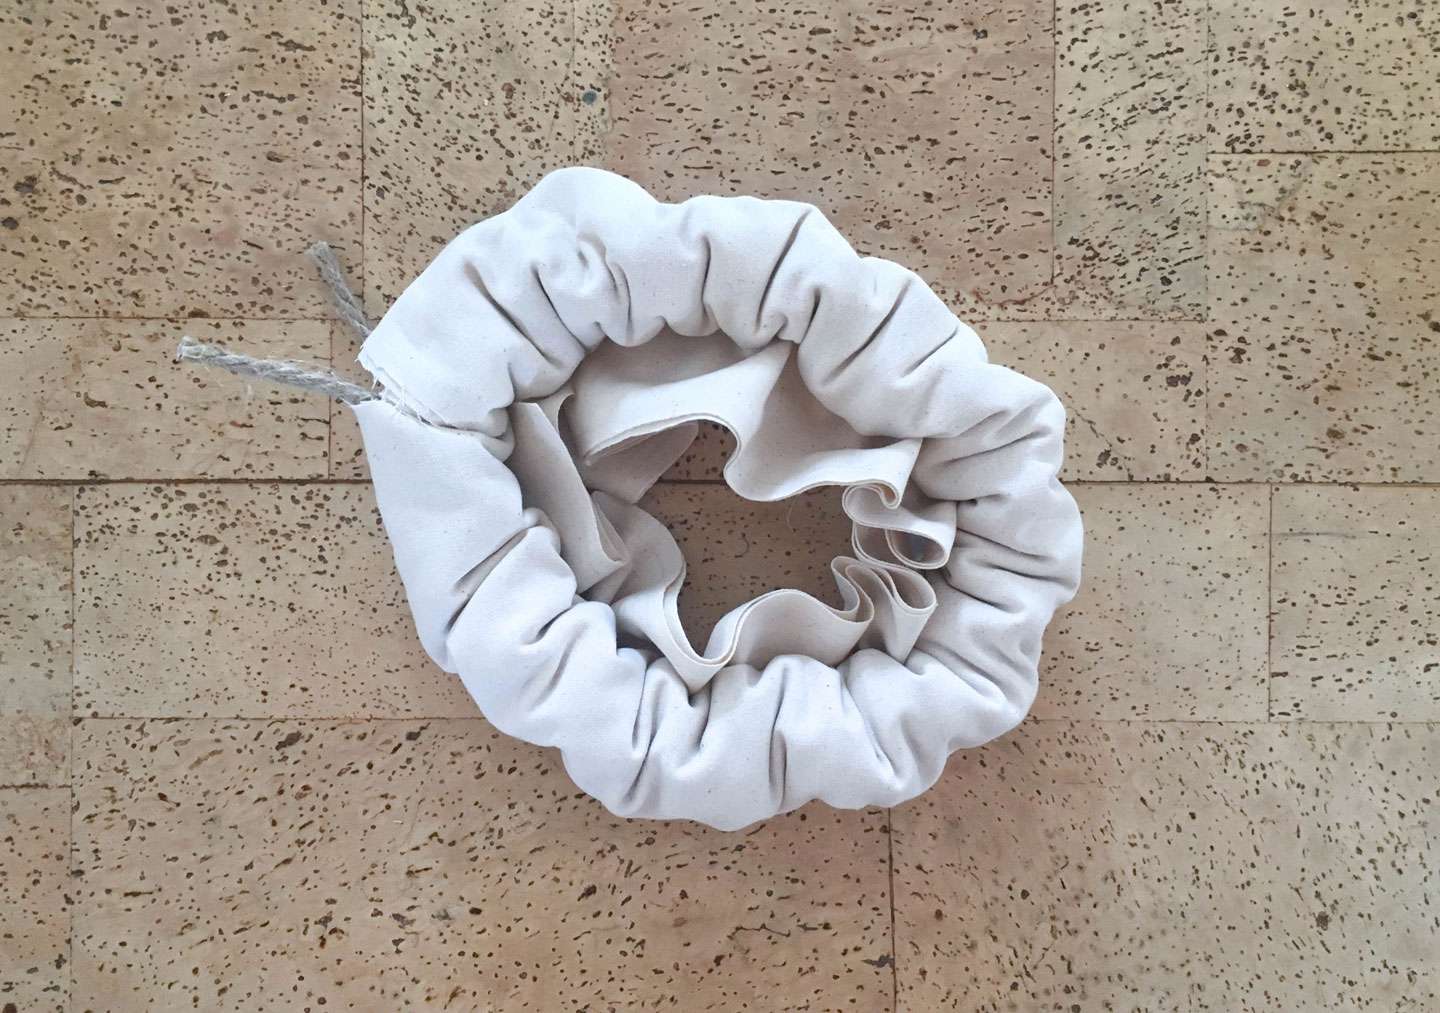
Hachinosu Shibori
Hachinosu Shibori
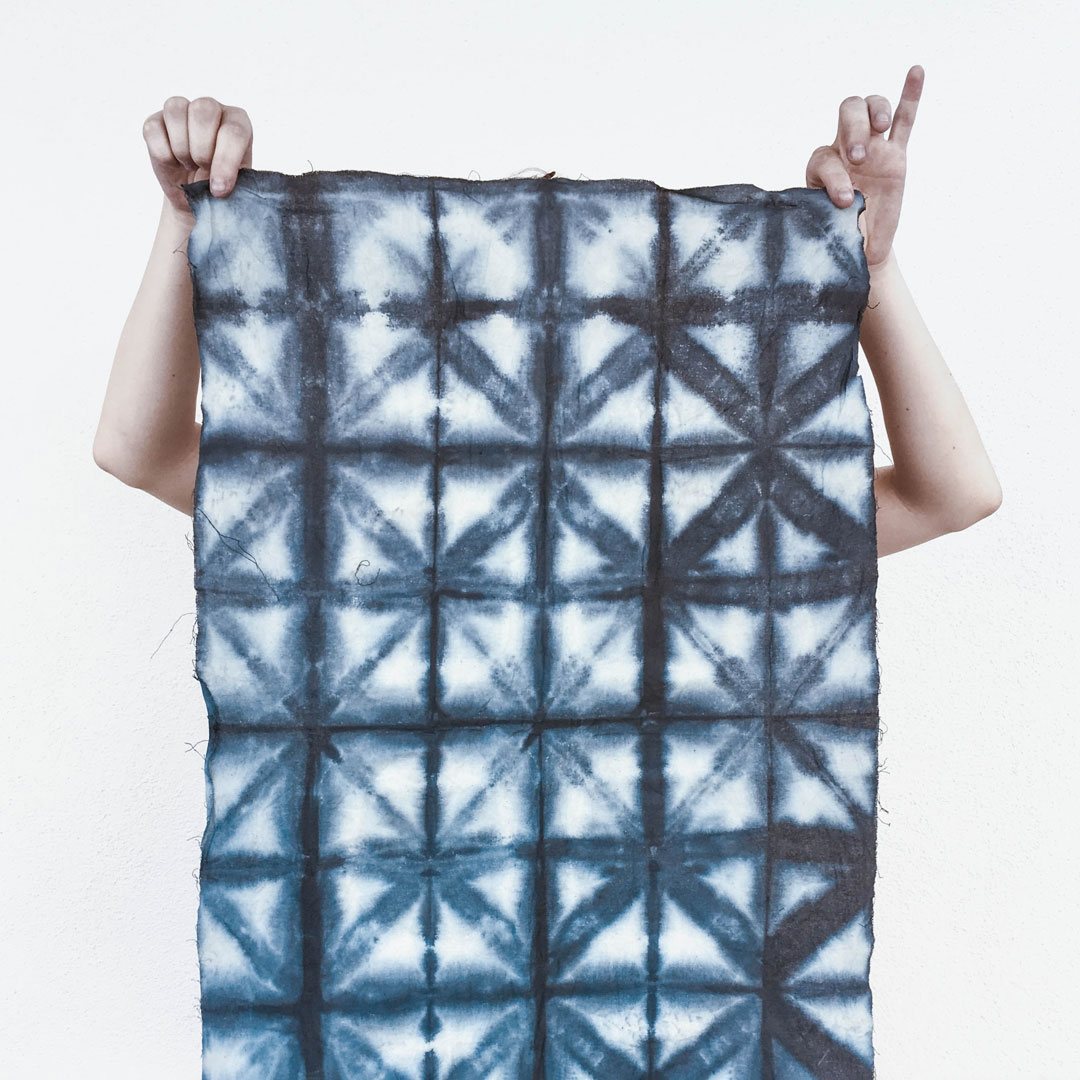
Naname Goshi Shibori
Naname Goshi Shibori
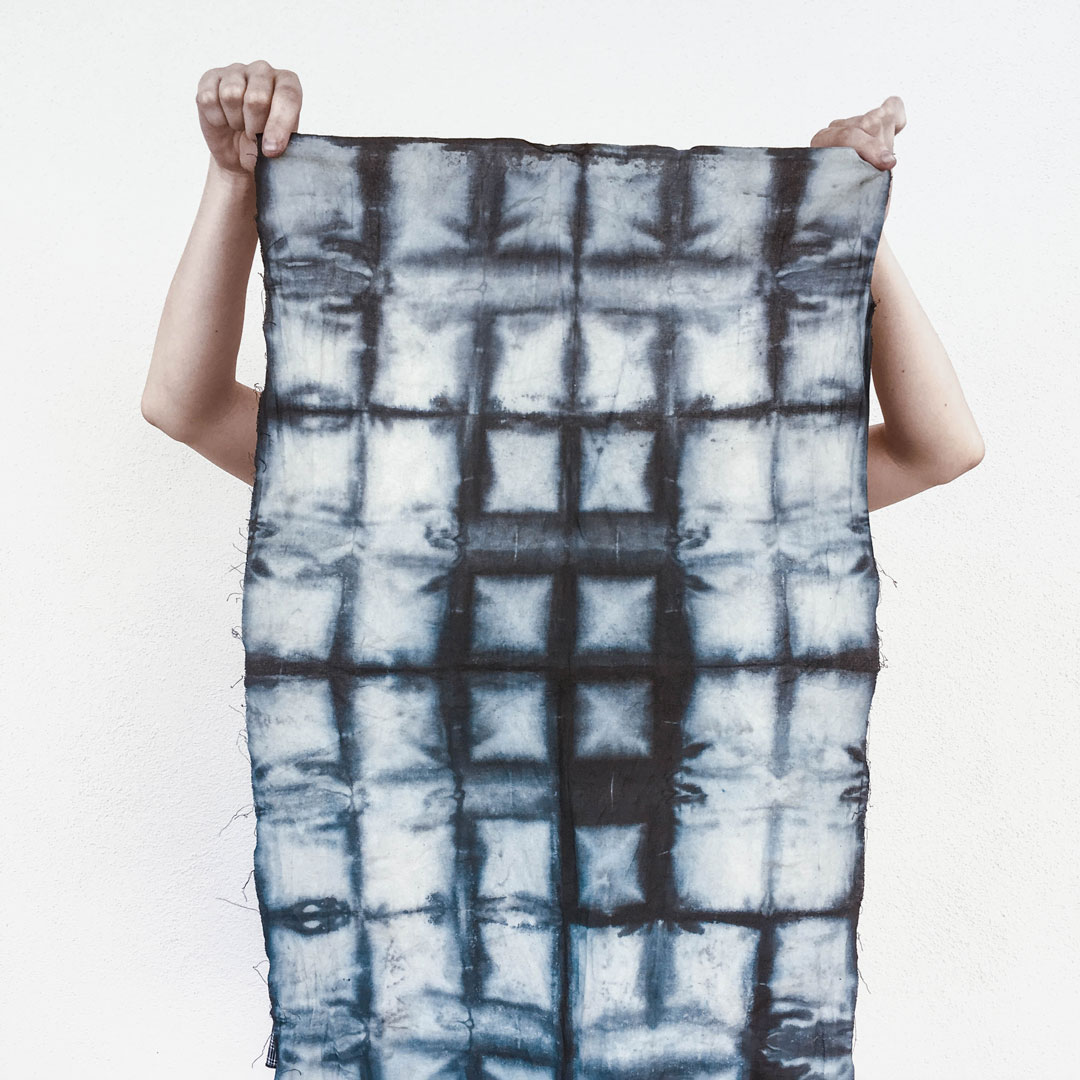
Itajima Shibori
Itajima Shibori
You’ll need tape, a plastic pipe and rope or yarn.
Instructions:
Fold the fabric in half until it has reached approx. 30x20cm. Stick one end diagonally on the tube with the tape and wrap the fabric around the pipe. Secure in place with rope or yarn and knot the ends together.
For this pattern you’ll need an additional rope (approx. 1m length).
Instructions:
lay the fabric flat in front of you and put the rope on one end of the fabric and wrap the fabric around the rope. Now try to push the fabric as tight together as possible and tie the ends in a knot.
For this pattern you’ll need two wooden rectangles and rubber bands.
Instructions:
fold a long strip out of your fabric in an accordion style. Then fold a triangle also in an accordion style. Attach a wooden triangle on top of the bulk and on the bottom and secure in place with rubber bands.
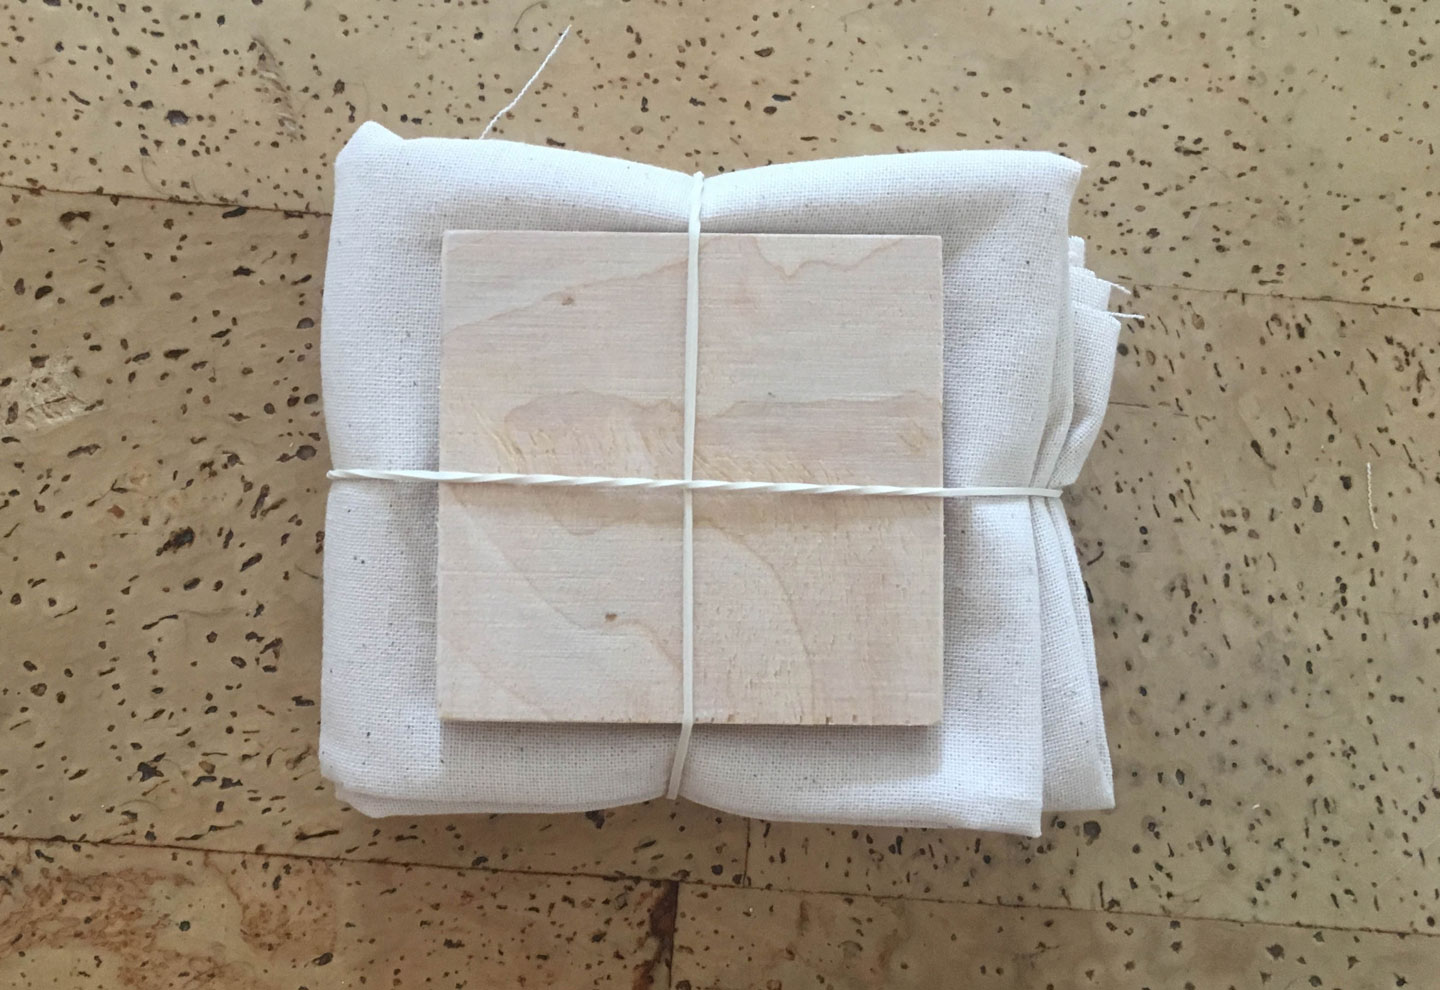
For this pattern you’ll need two wooden squares and rubber bands.
Instructions:
fold a long strip out of your fabric in an accordion style. Then fold a square also in an accordion style. Attach a wooden square on top of the bulk and on the bottom and secure in place with rubber bands.