
IKEA Nils armchair cover
A quick and easy tutorial on how to sew a custom chair cover for your IKEA Nils chair. Sewing pattern linked below!
-
Date
April 24, 2020
-
Difficulty
Intermediate
-
Category
Sewing
01. Intro
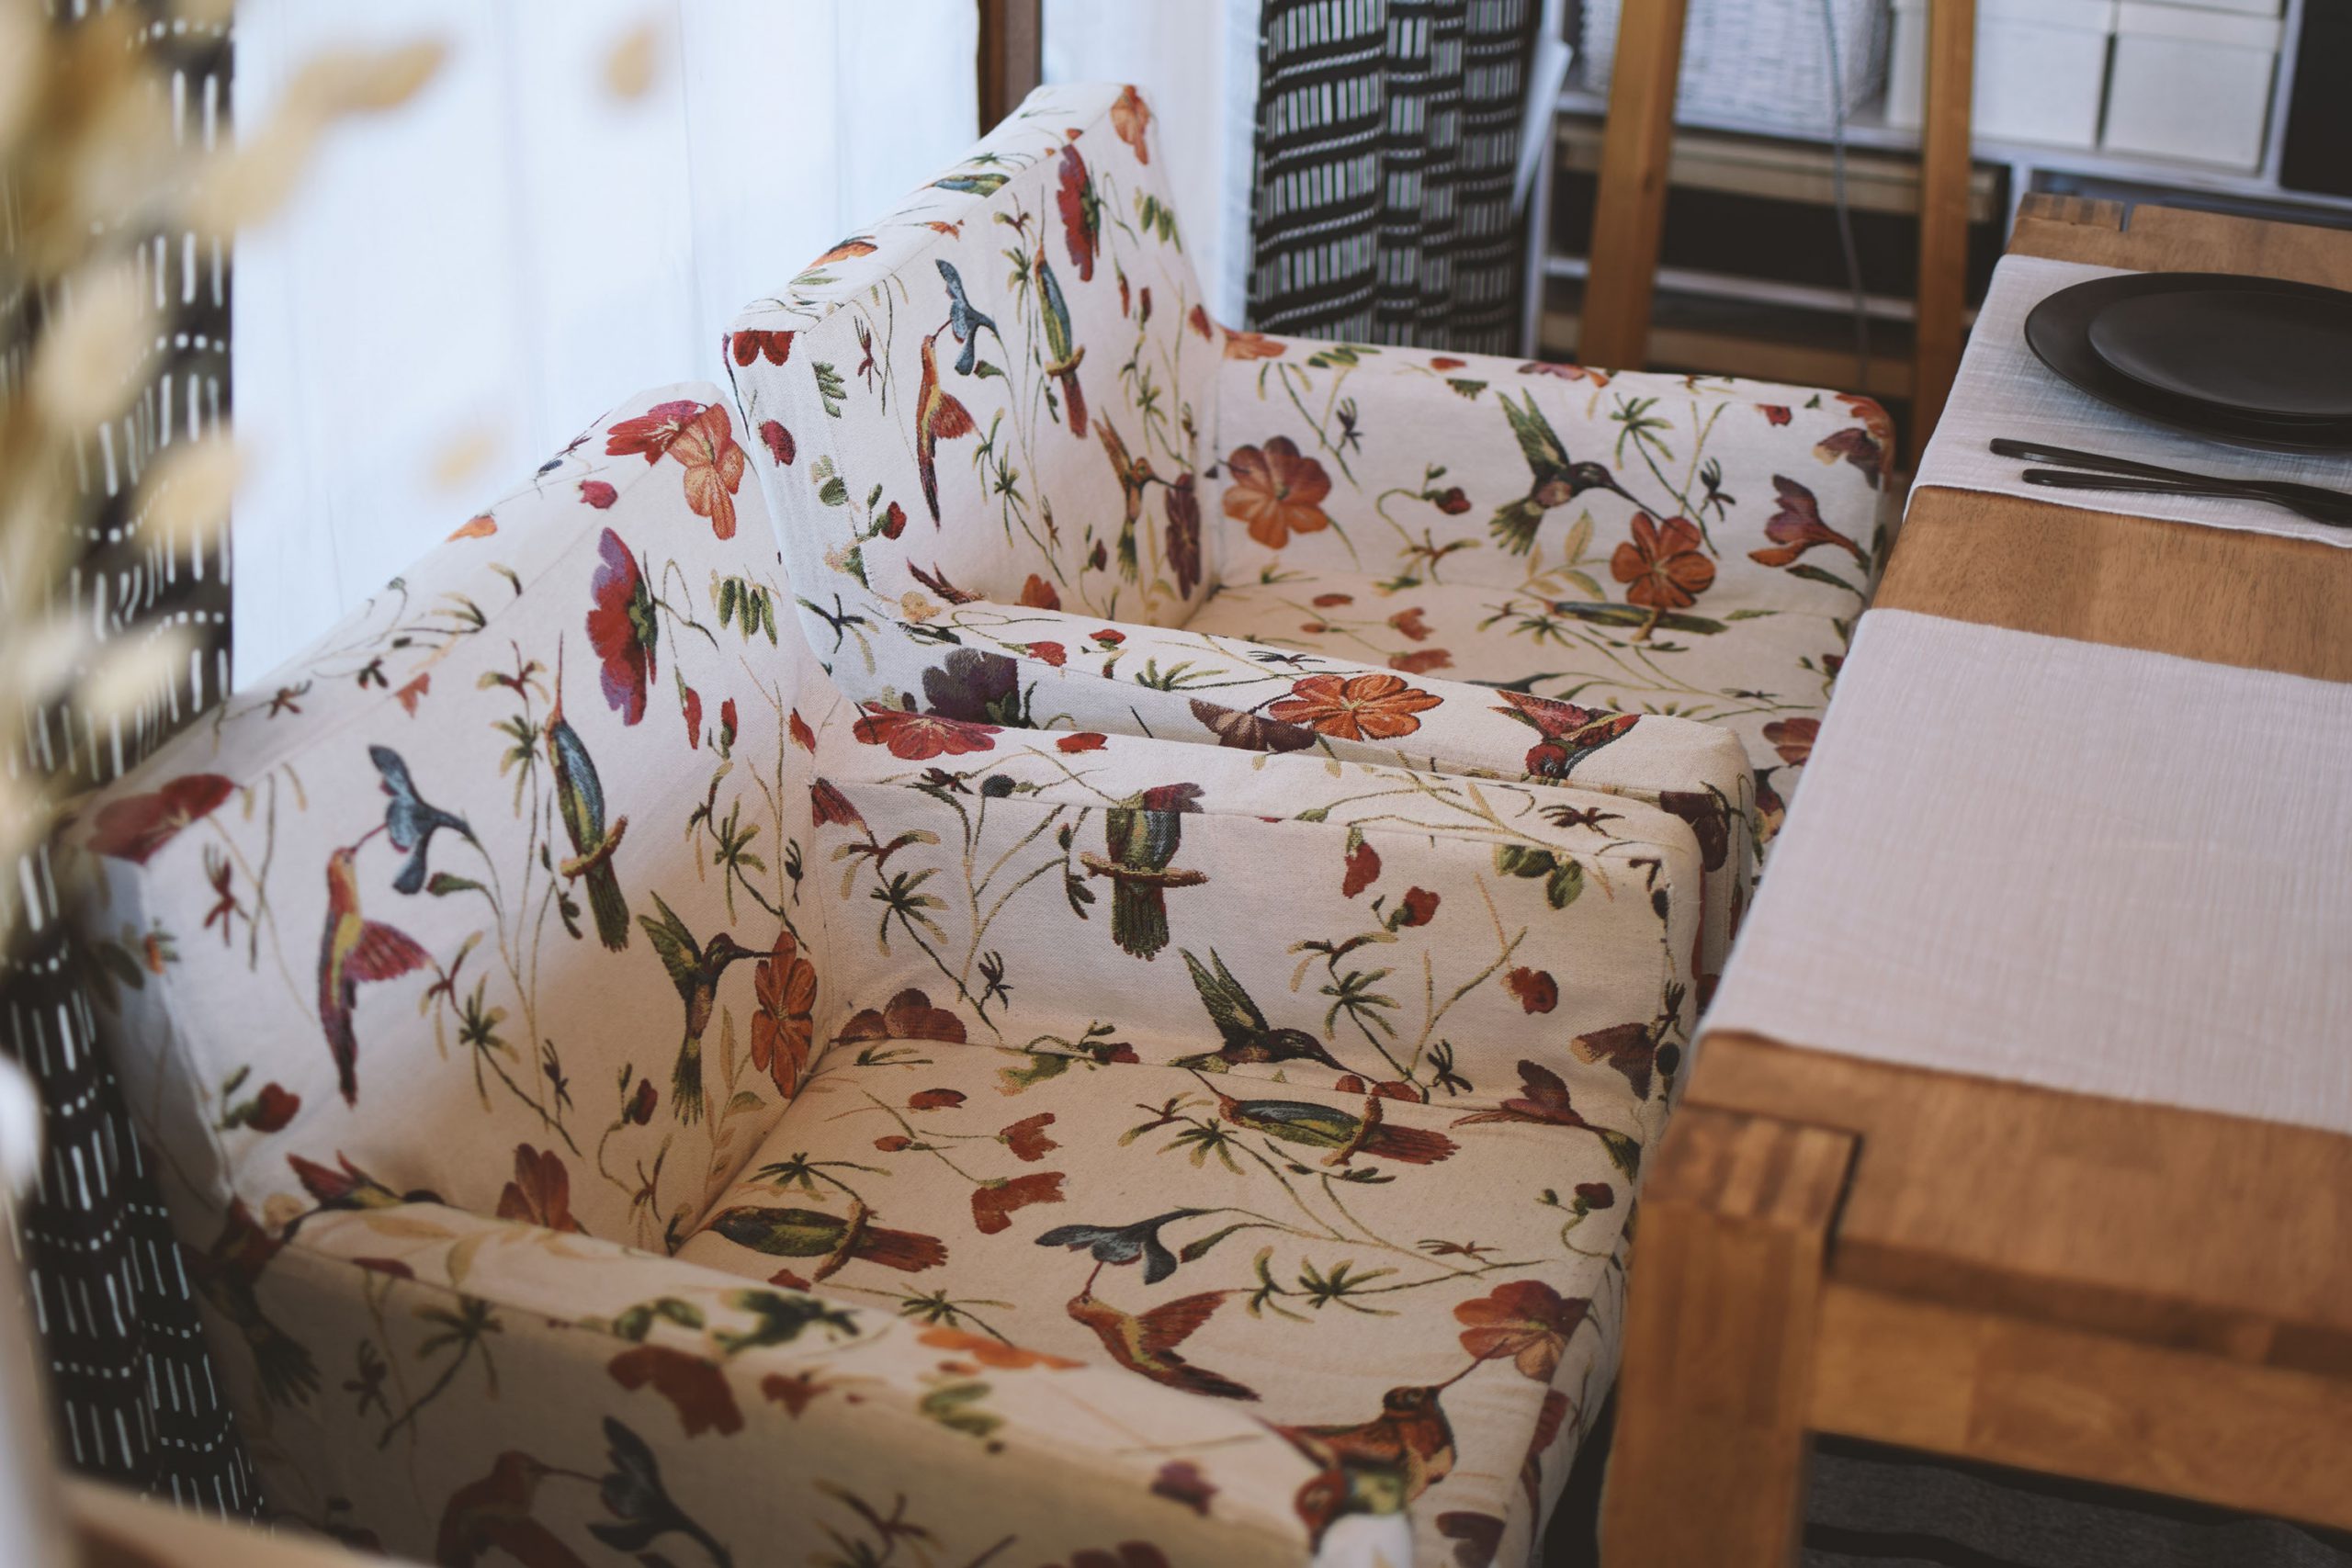
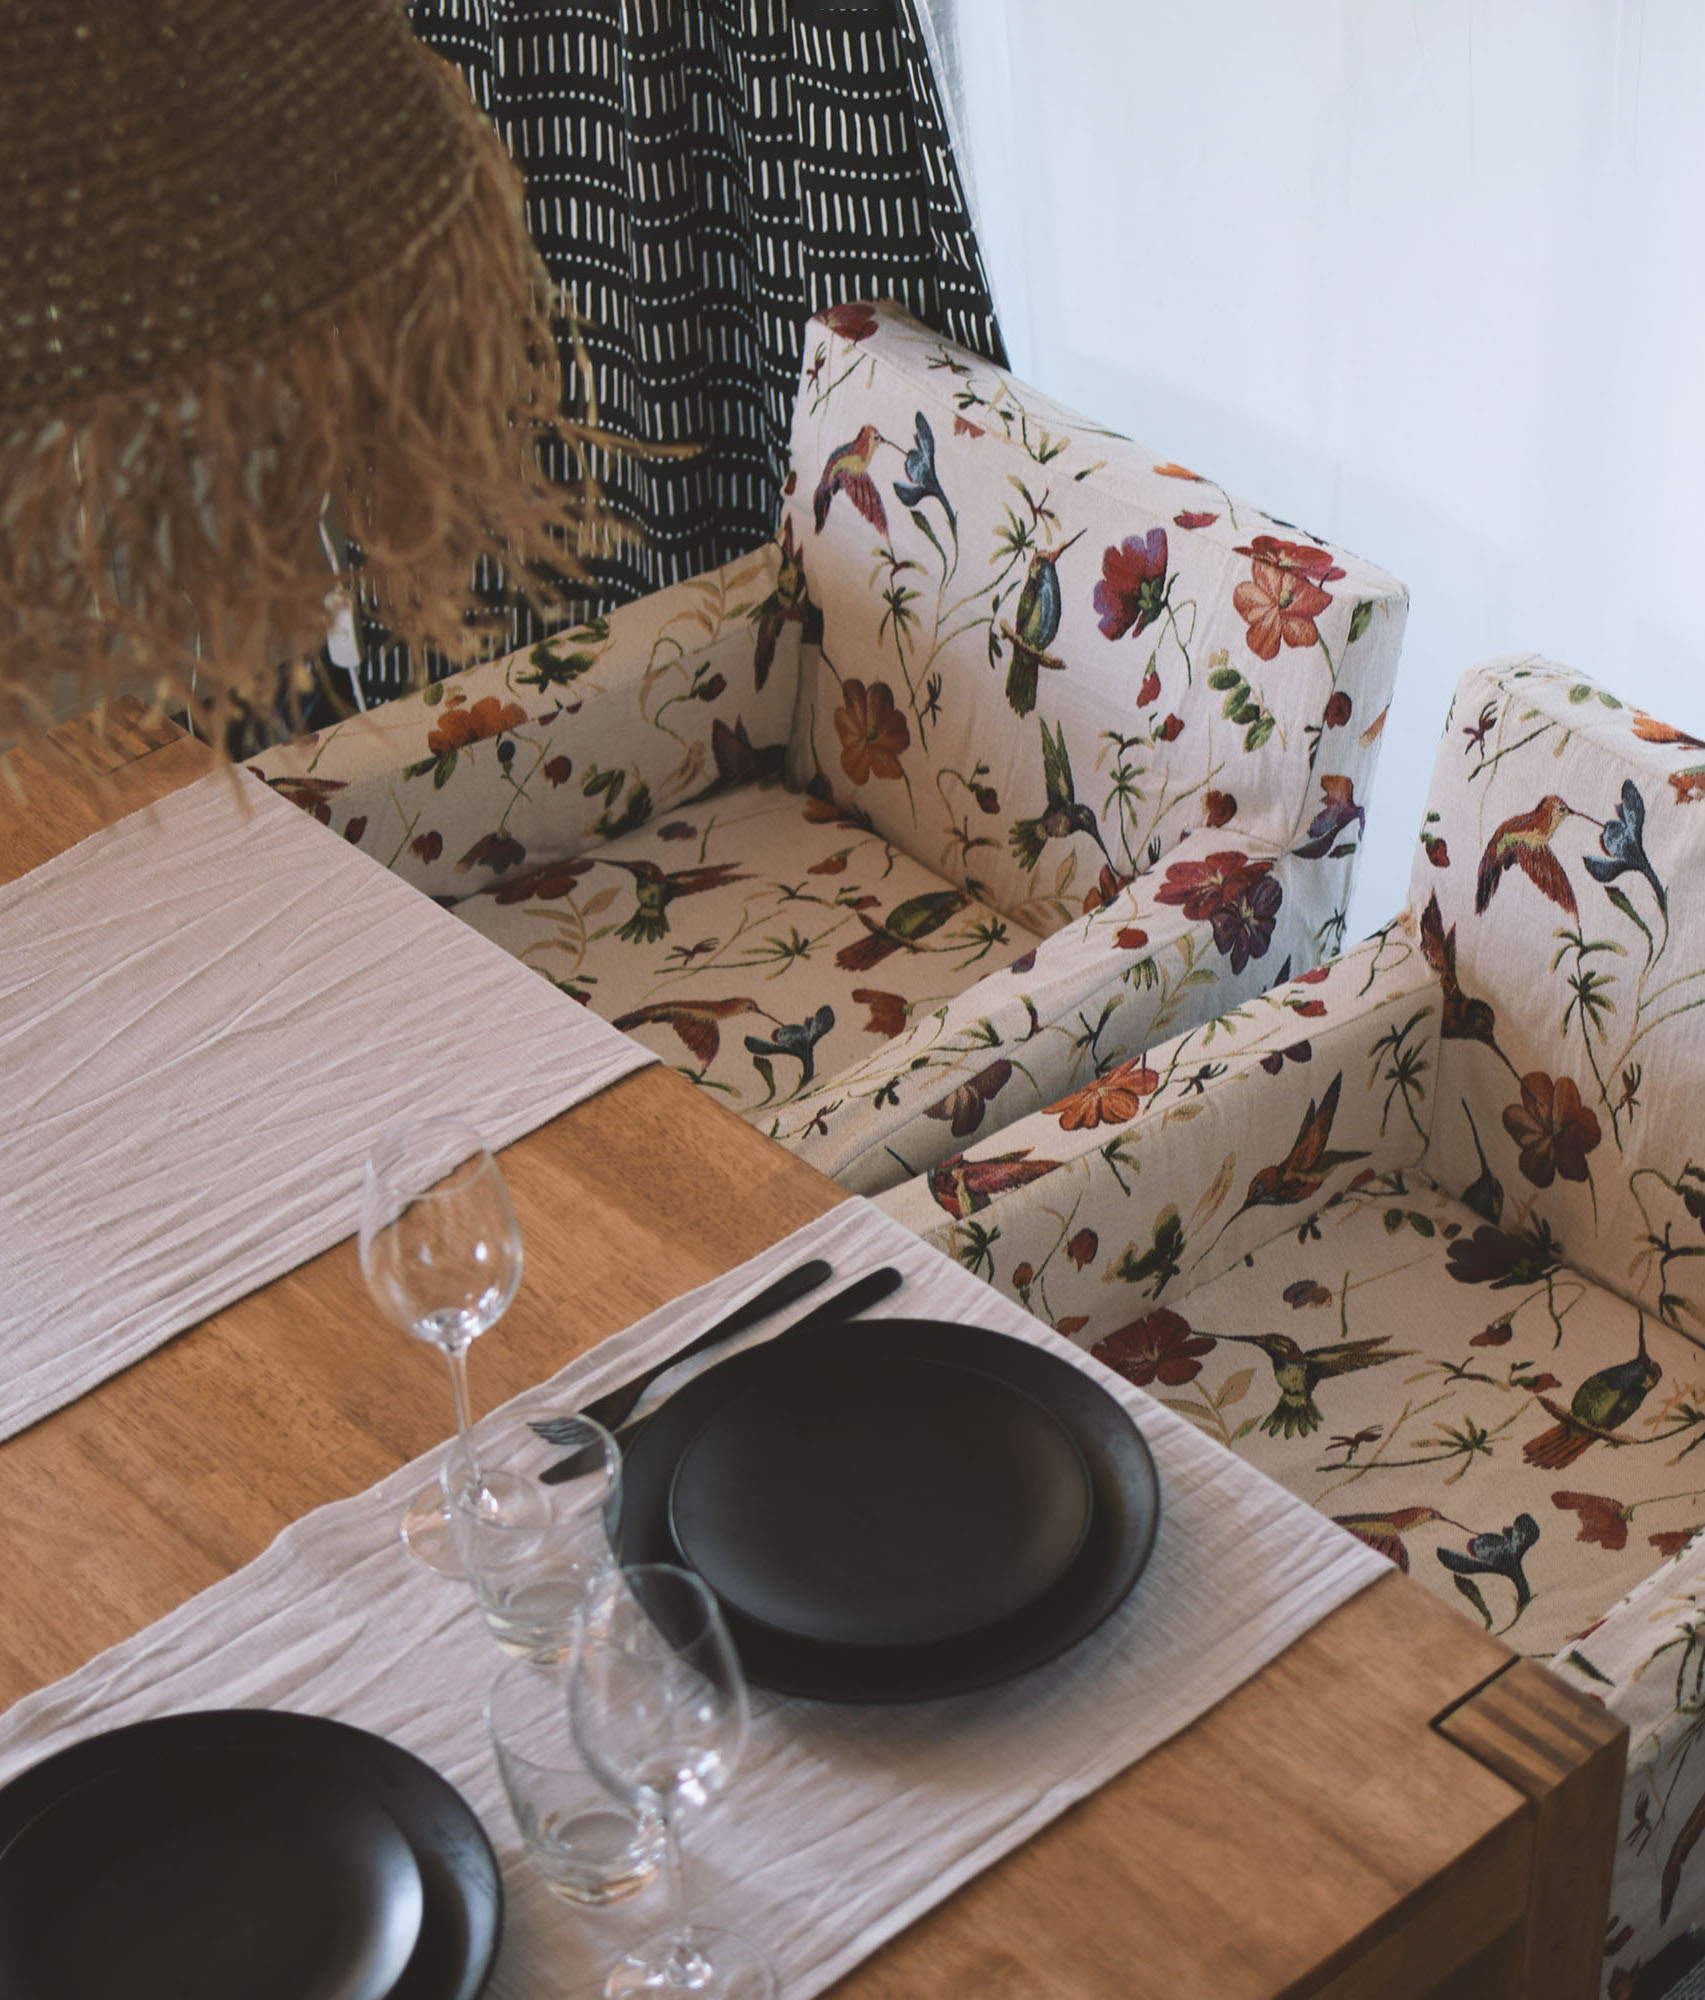
Hey everyone! For my dining room, I initially bought two of the IKEA Nils armchairs. I think the design of this chair is pretty nice, although I did not like the covers that IKEA offers. On the one hand, they are not that cheap and the available colors are also limited. So I decided to make my own cover with my favorite fabric.
02. How to
Before you’re ready to start you’ll need fabric that suits this project (Mine’s jacquard fabric, 1,5m wide and I needed 2,5m of it to fit the sewing pattern and the direction of the fabric pattern). You’ll also need 3m of velcro fastener (only the looped side of it because the hooked one is already stapled to the chair).
Download the sewing pattern
First of all, download the sewing pattern and print it out (I recommend letting this one be plotted, A0 document). Seam allowances are not given in the pattern! Add whatever you need around it.
Cut out and sew together
Download and print out the sewing instructions to follow along.
All parts need to be hemmed to secure the edges. Make sure the bottom parts of (1),(4),(6),(7) and (8) are either tucked into the chair or wrapped around it. All of these parts have the velcro fasteners attached.
03. Downloads
Find the sewing pattern and sewing instructions for the IKEA Nils armchair cover linked here.
12 comments
how many yards of fabric did it take per chair? Thank you!!
Hey, I’m not familiar with yards but due to Google’s converter, my fabric was 1,6 yards wide and 2,7 yards long. (1,5m x 2,5m)
Hi Jackie, thank you for taking the time to share this! I have some old Nils chairs that I’d like to re-cover but I’ve not done this kind of thing before, although I know how to use a sewing machine. Could you give me some idea of the sequence for sewing them together please?
I think the sequence doesn’t matter too much, fortunately, it’s a rather beginner-friendly project. Nevertheless, I started with the main seating panel (3) and sewed all neighboring panels to it (2×8,4,1). Then I sewed 5 and 6 together and then those two to the edge of 4. Lastly, I sewed on the two side parts (7) and attached the velcro to all bottom facing flaps. The parts with lines are the ones where the velcro should go on because they are the ones tucked through or wrapped around the chair, but you can take your existing nils armchair cover as a reference. I hope that helped you out a little, happy sewing! 🙂
Thank you for taking the time to respond – it’s given me the confidence to have a go!
Is the seam allowance included in the overall pattern, e.g. 1/2″ was built into PDF pattern, or it needs to be penciled on before sewing?
Hey 🙂 No, the seam allowance is not included in the pattern. I assume you refer to the grey parts of the pattern, but those are meant to be the edges where the velcro tape needs to be sewn on. Hope that helps! 🙂
Help – I don’t have a plot printer, so am having difficulty with the dimensions. I don’t have the actual chairs with me as I am making the covers as a gift for my son and his girlfriend as a surprise.
Are you able to provide me with dimensions so that I can create the pattern to scale.
thx
Cindy
Hi Cindy, I measured the top of the chair for you, so the width of the top panel is 53cm. You can adjust the other sizes accordingly.
Thank you so much!
I was looking for the pattern for Nils dining chair, but I have also this armchair! Nice idea for a little change in our home…
Hello – the fabric you are using for the Nils armchair is wonderful. Where can I get this? Thx Steen
Hey Steen, unfortunately it’s a vintage fabric a bought ages ago. But you can try find one, they’re called jacquard fabrics and come in a whole bunch of designs. Hope that helps!